Categories
living green

5 Tips to have a Greener Holiday Season

greener holiday seasonDuring a season dedicated to gatherings, gifts, and baked goods, I’d like to offer some simple ways you can reduce your footprint and have a greener holiday season.
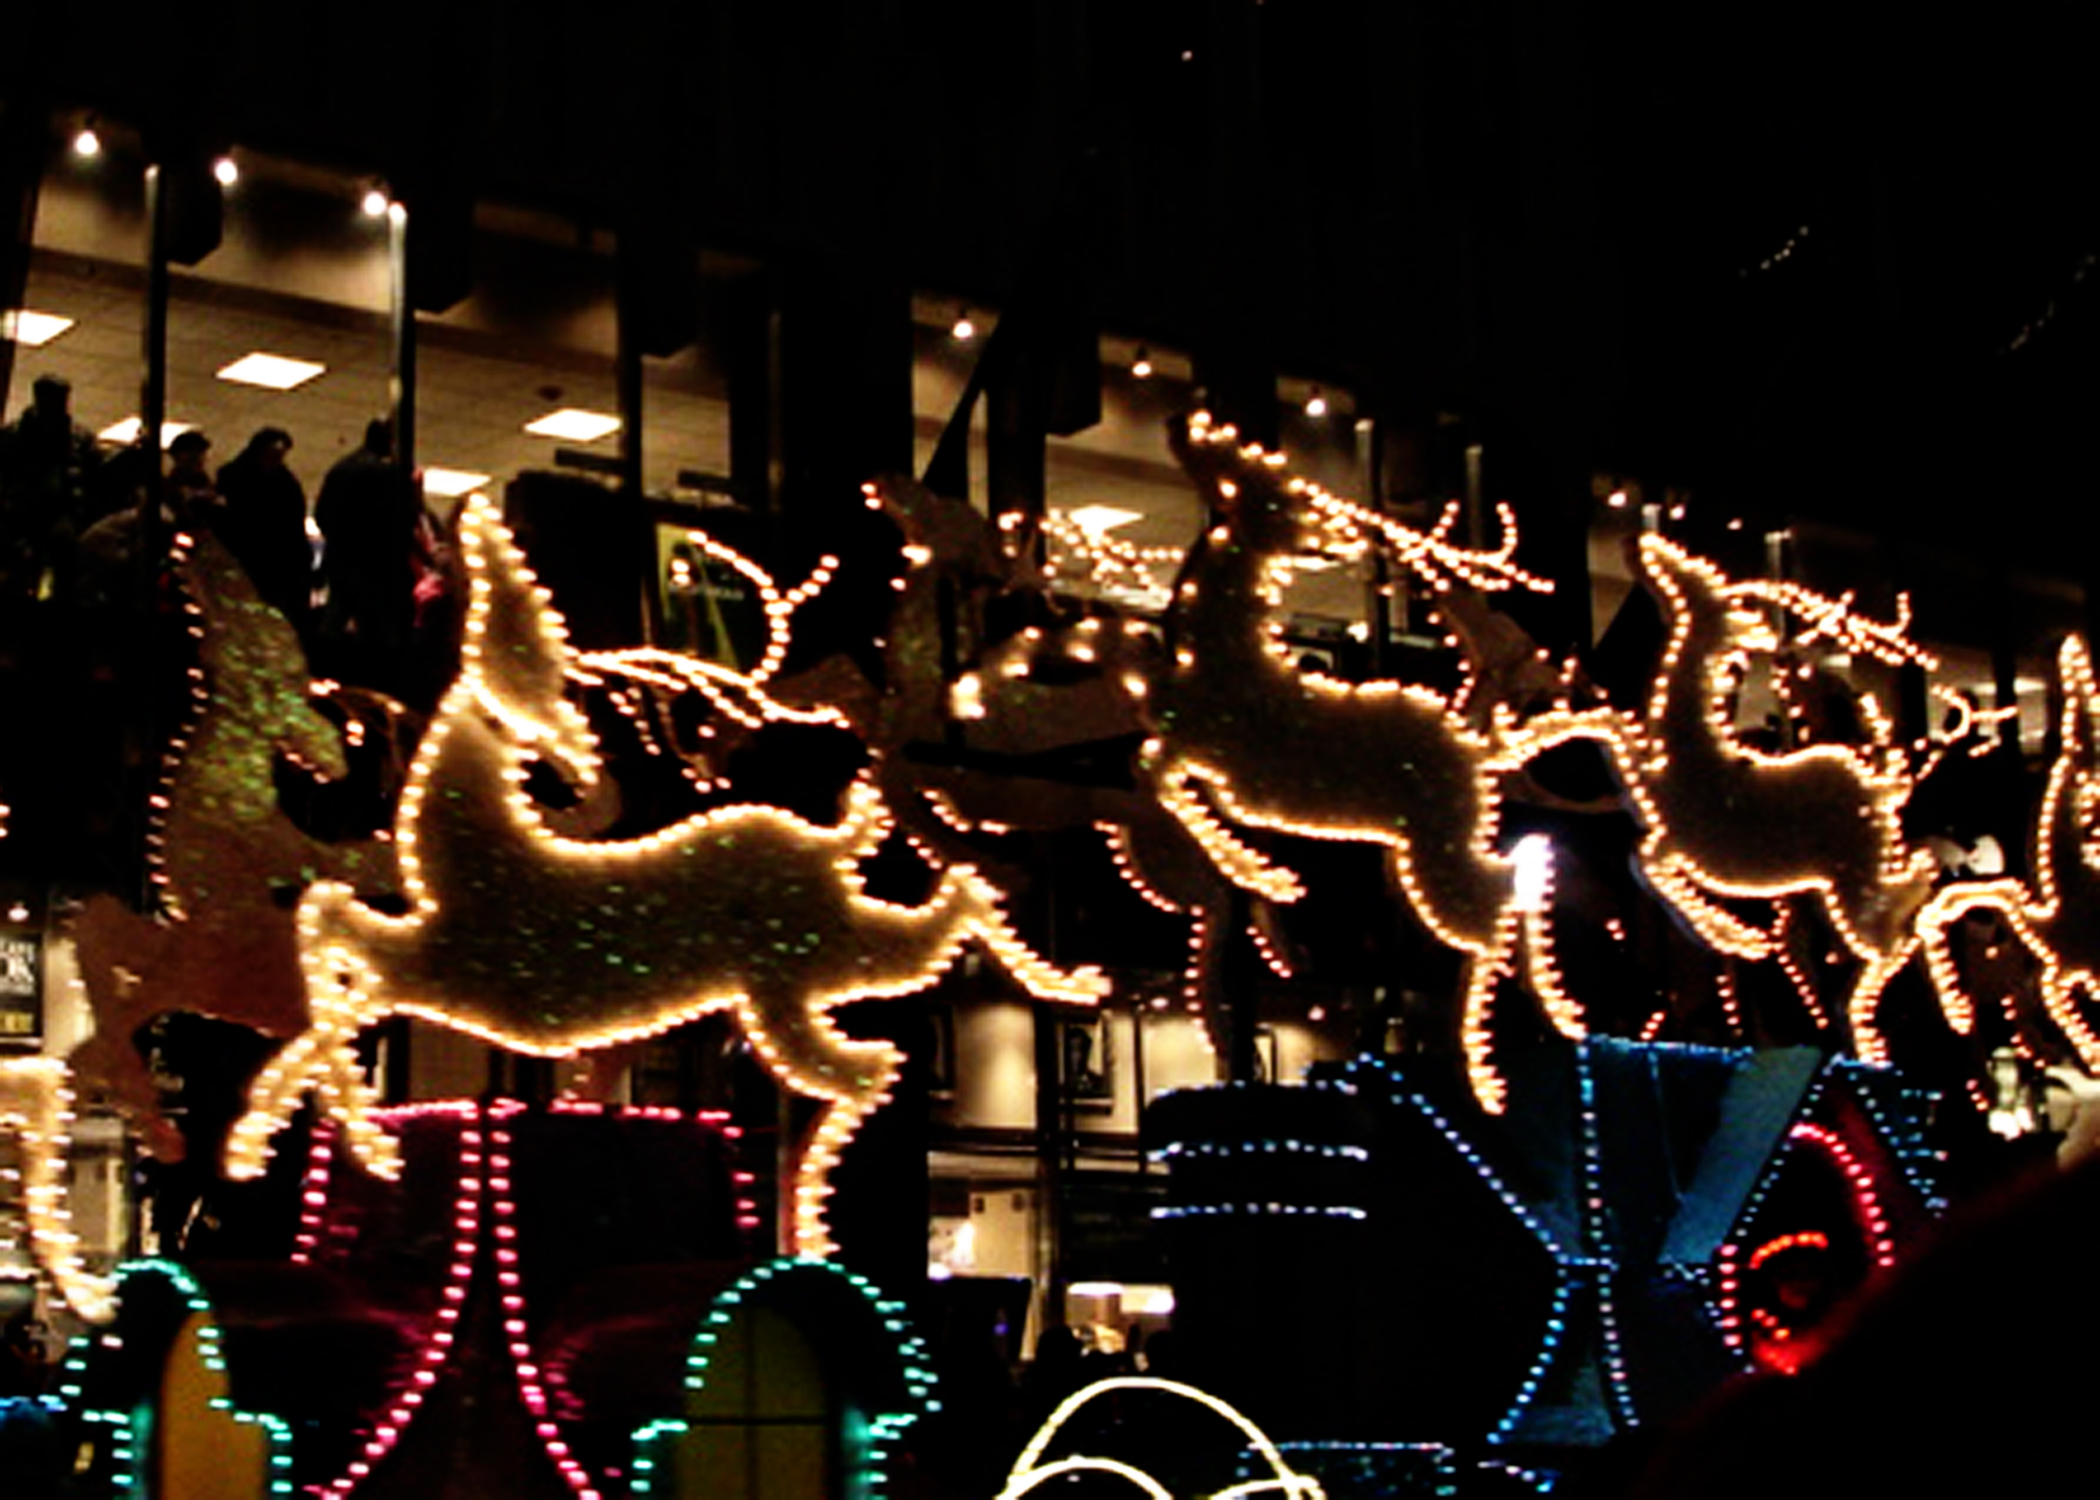
Decorations

  • Upgrade to LED holiday light strings. They may cost a bit more up front, but they’ll save you plenty in electricity use, and will last forever. As LED technology grows, you can now find strings that have that desirable yellow-white light rather than just the blueish white that you may associate with LED holiday lights. (Although I happen to think that the blueish white strings are spectacular for outdoor decorating.) Plus, no more half burnt out strings of lights.

Presents

  • Wrap your presents in recycled paper – either from the store, or make your own using grocery bags or cloth. Or reuse gift bags that you’ve received in years past. Keep in mind that tissue paper is not recycleable, so if you receive a gift wrapped with tissue paper, try to resuse it in your own wrapping in the future.
  • Giving American made gifts not only supports our economy, but it also reduces that energy required to transport products from factory to store. Better yet, look for gifts that are made within your own community, or give experiences like dinners out, theater or sporting event tickets, or museum and zoo memberships.

Cooking and Baking

  • If you’re going to be spending all day in the kitchen doing a marathon baking session, turn the thermostat down a few degrees – the kitchen will still be toasty warm from the heat of the oven!
  • Americans throw out huge amounts of food waste every day. You can help reduce that by thinking through your holiday menu plan and carefully considering how much food to make. Try not to make more than will get eaten during the meal or as left overs. And remember that you can keep adding to your compost pile all winter long rather than throwing out your kitchen scraps.

And with that, have a Merry Christmas, Happy Hanukkah, Happy Kwanza, and Happy New Year. I’ll be back with more posts after the New Year.

Categories
building energy

Adding Insulation for Energy Efficiency Part 1

adding insulation for energy efficiency
Untitled” by Jesus Rodriguez // CC BY

As we continue to explore the possibility of building a house that doesn’t require a heating and cooling system, the next step is to get to know the current standard for adding insulation for energy efficiency. This is a topic that involves a bit of math. In this post, I’ll walk you through the equations that are used to determine how much insulation to add. In the next post on insulation I’ll go through two simple examples of working out how much insulation to add.

Payback Period

The typical plan for adding insulation for energy efficiency is to add to the point where you are able to cover the costs of the added material with the money that you will be saving in heating and cooling costs. The time it takes to recoup the money for energy efficiency upgrades is called the payback period. For the insulation of a residential building the average payback period that most people are interested in waiting is between 4 and 5 years. So, in order to figure out the payback period we need to consider the R-value of the insulation, and the cost of heating and cooling the house per year.

Calculating the R-Value

As you may remember from my last post on insulation, the R-Value is a numerical value given to insulation that tells you how much the insulation is going to resist the flow of heat. Determining the R-Value of an insulation material depends on a number of different factors:

  • Initial indoor temperature (Ti)
  • Outdoor temperature (To)
  • time (t)
  • surface area of the building (A)
  • The heat loss indoors (dQ)

And the equation looks like this:

R = (Ti – To) * A *t / dQ

The good news about R-Value calculations is that you usually don’t have to do them. Since the measurements to complete the calculation are done in a lab setting in a controlled environment, the insulation manufacturer provides that information for you when you choose your material.

Calculating the Payback Period

In order to calculate the payback period of adding insulation, we need to take into account the insulation and the heat system.  The payback period depends on the following features:

  • R-value of the initial insulation (Ri)
  • R-value of the final insulation (Rf)
  • Cost of insulation (Ci)
  • Efficiency of the heat system (E)
  • Cost of energy (Ce)
  • Number of days that require heat per year (t)

And the equation looks like this:

P = (Ci * Ri * Rf * E) / (Ce * (R2 – R1) * t)

You can find more information on calculating the payback period of adding insulation here.

I know looking at all these equations can be intimidating if you are interested in figuring out how much insulation to add to your house to meet the 4 – 5 year payback period. But hopefully after I work through a couple examples in my next post on insulation, it will seem manageable. Maybe you’ll even be inspired to add insulation to your own house to make it more energy efficient.

Categories
apartment living energy living green

Hang Drying Laundry in the Winter

Clothes dryers are an incredibly inefficient use of electricity. The typical dryer uses in the neighborhood of 5 kWhs of electricity, even energy efficient dryers use at best around 2 kWhs during their dry cycle. (To put that in some perspective, that’s the same amount of energy as a 100 watt incandescent bulb uses in 20 hours – or in the case of my 9 watt LED light bulbs, 220 hours!) In fact, running a clothes dryer uses more energy than any other appliance in a typical American household. That’s a lot of energy just to spin some hot air around.

These days, what with cloth diapering Cheeks McGee, I’m doing a load of laundry about every other day – 4 loads a week, we’ll say. And living in an apartment, we pay $1.50 for each cycle. Which means that if we were drying all of those loads, it would tack an additional $24 onto our expenses each month. That’s $312 a year.

So in the interest of saving energy and money, we hang dry our clothes. As I’ve written about before, in the summer heat and sun, our laundry is dry within a few hours. Now that the winter has firmly decided it’s here, we continue to hang dry our laundry, but now we hang it indoors. The shared basement laundry room in our apartment complex already had clothes lines, but in the past we’ve used a folding drying rack, the backs of chairs, the shower curtain rod, and basically anywhere else we could possibly hang a piece of clothing. It does take more than 3 hours for our laundry to be dry, but never longer than 24 hours. I bet aside from sweatshirts, most of it would be dry by morning if they hung over night. And running your clothing through the spin cycle can be really hard on it, so by hang drying we get more life out of our clothing as well.

Yes, we have to think ahead more than 2 hours if we want to wear something that is currently dirty. But right now, with the frequency we are doing laundry, that hasn’t been an issue. And in a clothing emergency, the dryer is still right there.